VR Development Notes
Arthur Mostovoy, Lead Game Designer
As I’ve speculated previously, VR can be compared to a game with little to no rules. As such, if you are walking down this road, you will probably make some of your own along the way. Today i’m sharing some things you may find helpful when developing a VR game.
Motion Sickness Tolerance
Right now VR motion sickness is one of the hottest issues that both slows down hardware propagation rate and turns users away from trying new software. However, when actually testing your game you might notice that this problem becomes less and less noticeable the more you play.
Although playing more isn’t the first logical thing you want to do after taking the helmet off, take a few days break from playing and give it another try. People that were only able to play for a minute or two held on longer every subsequent try until they were able to complete the game feeling a little uncomfortable at worse, yet it was nothing compared to their first impressions.
While it’s probably too early to conclude that playing VR games can be used as a therapy for vestibular system, it’s something worth taking note of. Perhaps if you felt sick when trying out VR at first and gave up on it, you can try this trick and slowly get into it.
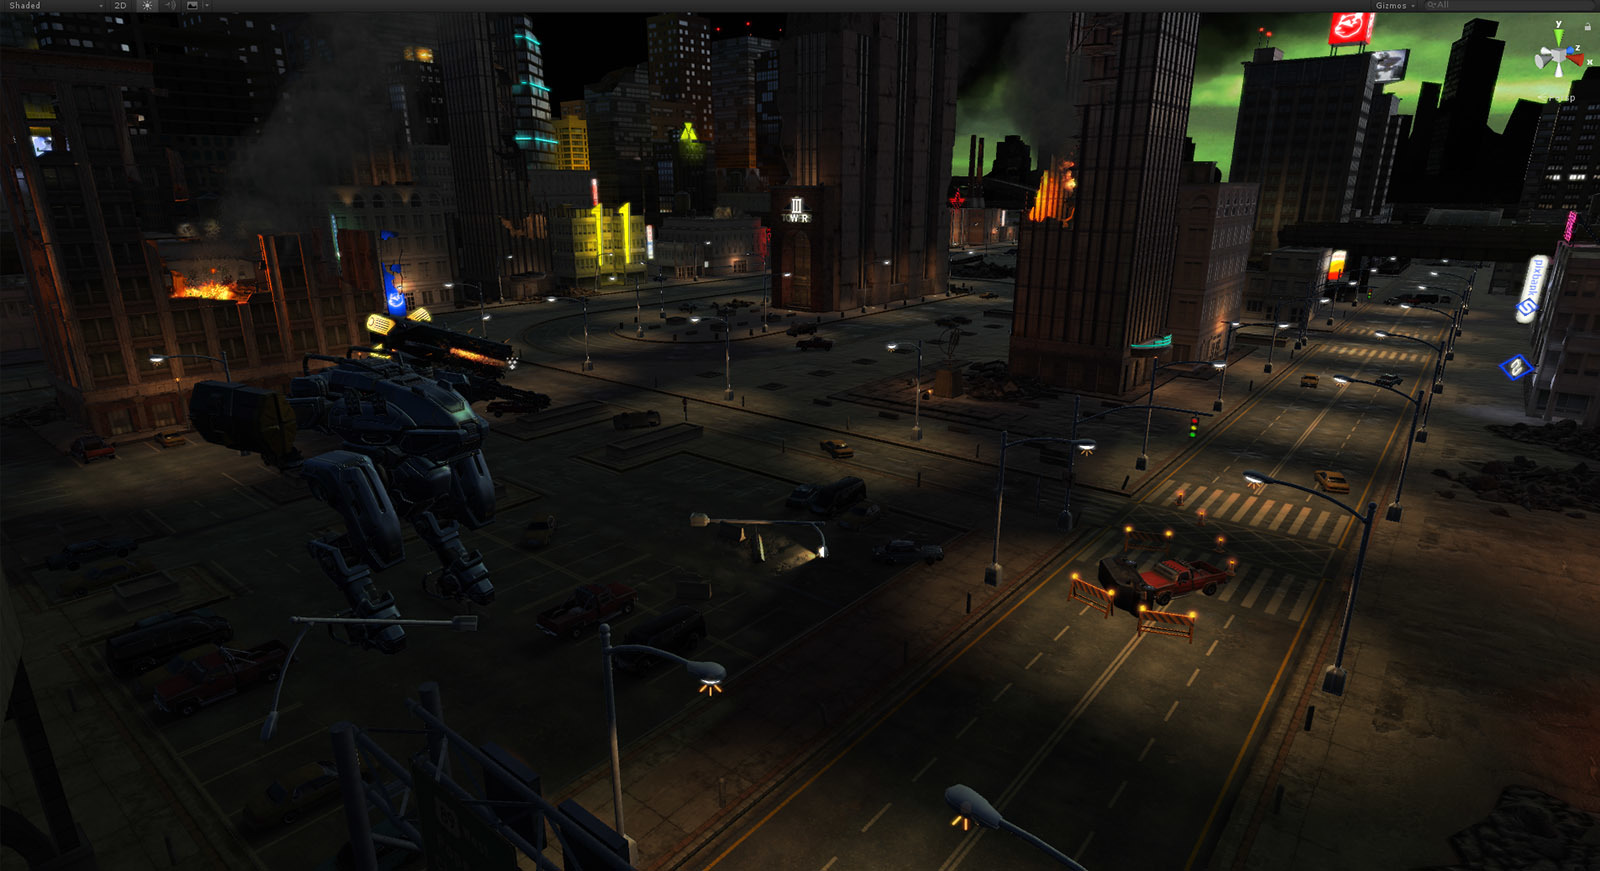
Level Design Tips
Our level designer Mikhail Vovk stresses that immersion provided by VR distorts the perception of scene and gameplay that you may get by viewing level in the editor. It’s important to frequently put on the headset and check the scene from player’s perspective. Due to motion sickness issues you should also try and minimize sharp turns.
When planning player’s route, do place some massive objects along the way that the player would have to pass under — like bridges, construction cranes etc. These things look and feel very impressive in virtual reality.
If at certain point the player can’t see the terrain he’s standing on, he might have a problem with spatial orientation i.e. distinguishing himself moving towards the object from the object floating towards himself.
Drawing Attention The Old Way
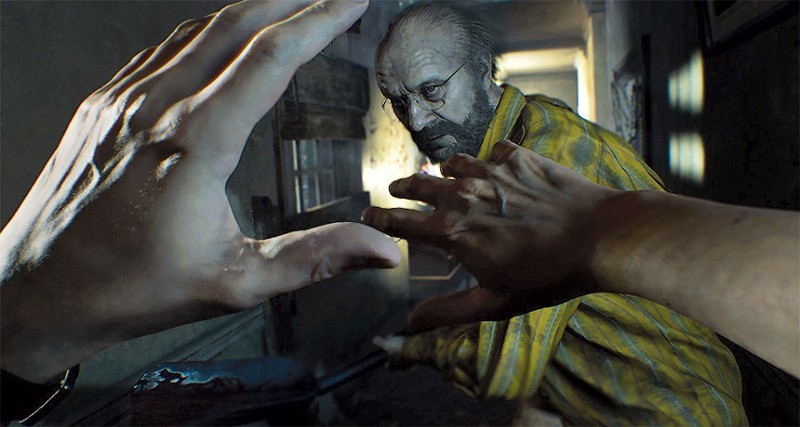
When you want to make sure the player sees one of the main characters dying in a spectacular fashion, what you do on flatscreen is gently turn the camera and kind of force the player to witness the event. Easy, right?
Well, in virtual reality it doesn’t really work this way because losing sync with your physical movement in VR can have a dramatic effect and lead to motion sickness (this again?). Instead, what you may want to try is turn to some old school tricks. This includes using lighting, sounds and/or voicing to indicate that something is going to happen in a certain place at a certain time. Then cross fingers and hope you’ve picked player’s interest just enough to make him turn and watch.
Bid Farewell to Traditional Cutscenes
Translating deep immersion comes at a price. The price in this sense being that you simply can’t unimmerse someone with a wave of your hand. While in flatscreen games during a dialogue you can stop the player, pull a cinematic frame and start a cutscene, that would just look and feel unnatural in VR — just try to imagine the cinematic frame in VR alone.
So if you want to do some kickass storytelling in virtual reality, better do it in a more natural way — by having transition scenes (elevator in Raw Data), self-removed obstacles, voice over the radio etc.
Saying More by Saying Less
While it’s generally desirable for your game to have as little text as possible (unless it’s fits the genre of text-based games), that’s even more so in VR. Reading in virtual reality just feels like it requires a little more effort (or is it a matter of practice?) and basically reading lessons isn’t exactly something users are expecting after donning an expensive helmet that will supposedly let them fly to Mars and back.
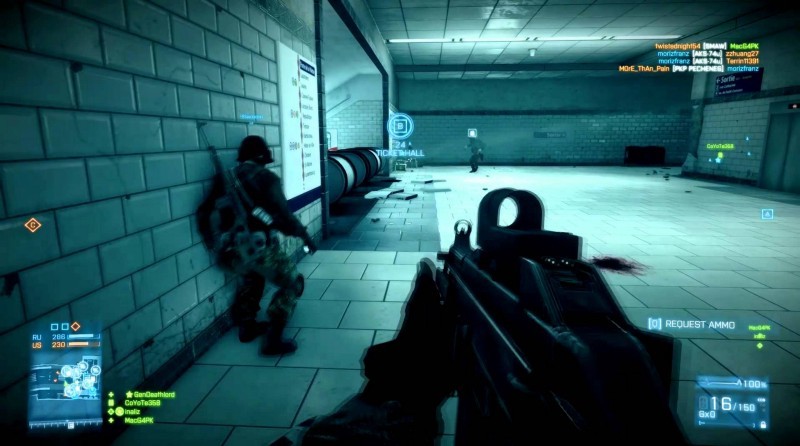
Performance Optimization
We talked a little about optimization and having to maintain consistent 90 FPS in the previous article. Our VR programmer Artem Klinovitskiy emphasizes the importance of FPS stability throughout the game. In most flatscreen games FPS counter can have its highs and lows depending on the scene. This is not the case in VR where floating or low FPS will ruin user experience, cause motion sickness and distort the immersion.
Minimum comfortable FPS value differs for PC and PS VR, being 90 for the former and 60 for the latter. It’s worth mentioning that on HTC Vive, if your game pulls 80 or any number below 90, FPS will be cut down to 45 and so on progressively. So you not only have to optimize the game for consistent 90 FPS but also leave some breathing room and remember that your end user might not have the best PC out there.
With such requirements developers have to pay more attention to performance including scene complexity, used materials, shaders, lighting etc. Level geometry also matters because a large open location can be divided into zones by using buildings, trees, mountains etc. This will reduce strain on the render by culling all the stuff the player can’t see (occlusion culling). Some objects can be culled manually when occlusion culling can’t get the job done right.
Regarding lighting, a big optimization boost can be achieved by reducing dynamic light sources and objects using dynamic lighting to a minimum. A great part of the location can be baked beforehand while most light sources can be made static and changed in real-time to light probes. Default dynamic shadows functionality can also be replaced by custom code to save resources without affecting visuals too much. Due to VR headsets resolution at this point not being too high, one of the noticeable issues in games is aliasing. It’s recommended to use at least MSAA x2 to make the picture better. Fullscreen post FX should be used with caution since not all of them will look right in VR. Some can even do as much as break the immersion.
VR, Unity and You

Right now Unity supports all the popular SDK for VR devices out of the box. For PC the most widely used ones are OpenVR (SteamVR) and Oculus SDK. If you’re aiming only for a Steam release, supporting OpenVR would be enough. Valve made the developers job easier by supporting not only HTC Vive but Oculus Rift as well in SteamVR. Thanks to this, you’re able to use the same set of cameras, same idea behind controls and same API for VR functions to develop a game that will work identically on both devices. Of course you would have to map the VR controllers differently, but that goes by default since they’re different themselves.
Now, for the Oculus Store you would have to support both SDK in your game. Building a VR game from the ground-up doesn’t mean you’re going to work with it only while wearing a headset. You will have to make it available on flatscreen as well, otherwise you’re making the process of testing, debugging and generally working with the project much more complex. This includes adding at least some camera turning emulation and mapping keyboard/gamepad controls. UI might also need to be adapted to fit the monitor. It doesn’t have to be a polished flatscreen version of your VR game, but unless you’re able to run the game on a monitor with keyboard or gamepad you’re just making development process harder. Besides, literally everyone on your team would need a separate VR headset to work on the project.
UI/HUD
Speaking of which, in VR you can’t just use an overlay to reflect, say, available ammo. Since we’re in virtual reality now, you’ll need to place a flat object in world space around the player and put what you want there as text turned to the camera. However, using classic HUD and/or menu is generally not the best practice because it breaks immersion. Having numbers around you creates an impression you’re wearing another helmet inside VR. That’s why in many released titles you may notice that main menu isn’t actually menu — instead, you may find yourself in a room where you have to interact with certain objects to get to options or quit the game and so on (like in Rock Band VR).
Controls
Lastly, if your game is played without VR controllers in the sitting position, try to use gamepad as the main option. Trying to find the right keys on the keyboard while having the headset on is one hell of a pleasure.
Hope this helps and if you have any other suggestions not mentioned here, feel free to leave them in the comments!